The festive period is one of my favourite times of the year to get outside and create floristry from nature. Making Christmas wreaths is a great excuse to get outdoors, and also provides something wonderful for your front door over the festive period!
Some people think this time of year is epitomised by barren, empty land – but this couldn’t be further from the truth. If you go out at this time of year, you will see life going on – moss growing, plants poking sleepily through the snow, robins hopping around you curiously and blackbirds forecasting the imminent twilight.
 Because the richness and over-abundance of Summer is long past, Winter time is a moment to treasure the restricted amount of flowers and foliage still staunchly showing their faces against the harsh frosts, whistling winds and silent snows.
Making Christmas Wreaths
I’ve been making Christmas wreaths to decorate at home for many years. Slowly friends and family began to insist I made them wreaths too, and for the last few years I’ve sold my wreaths.
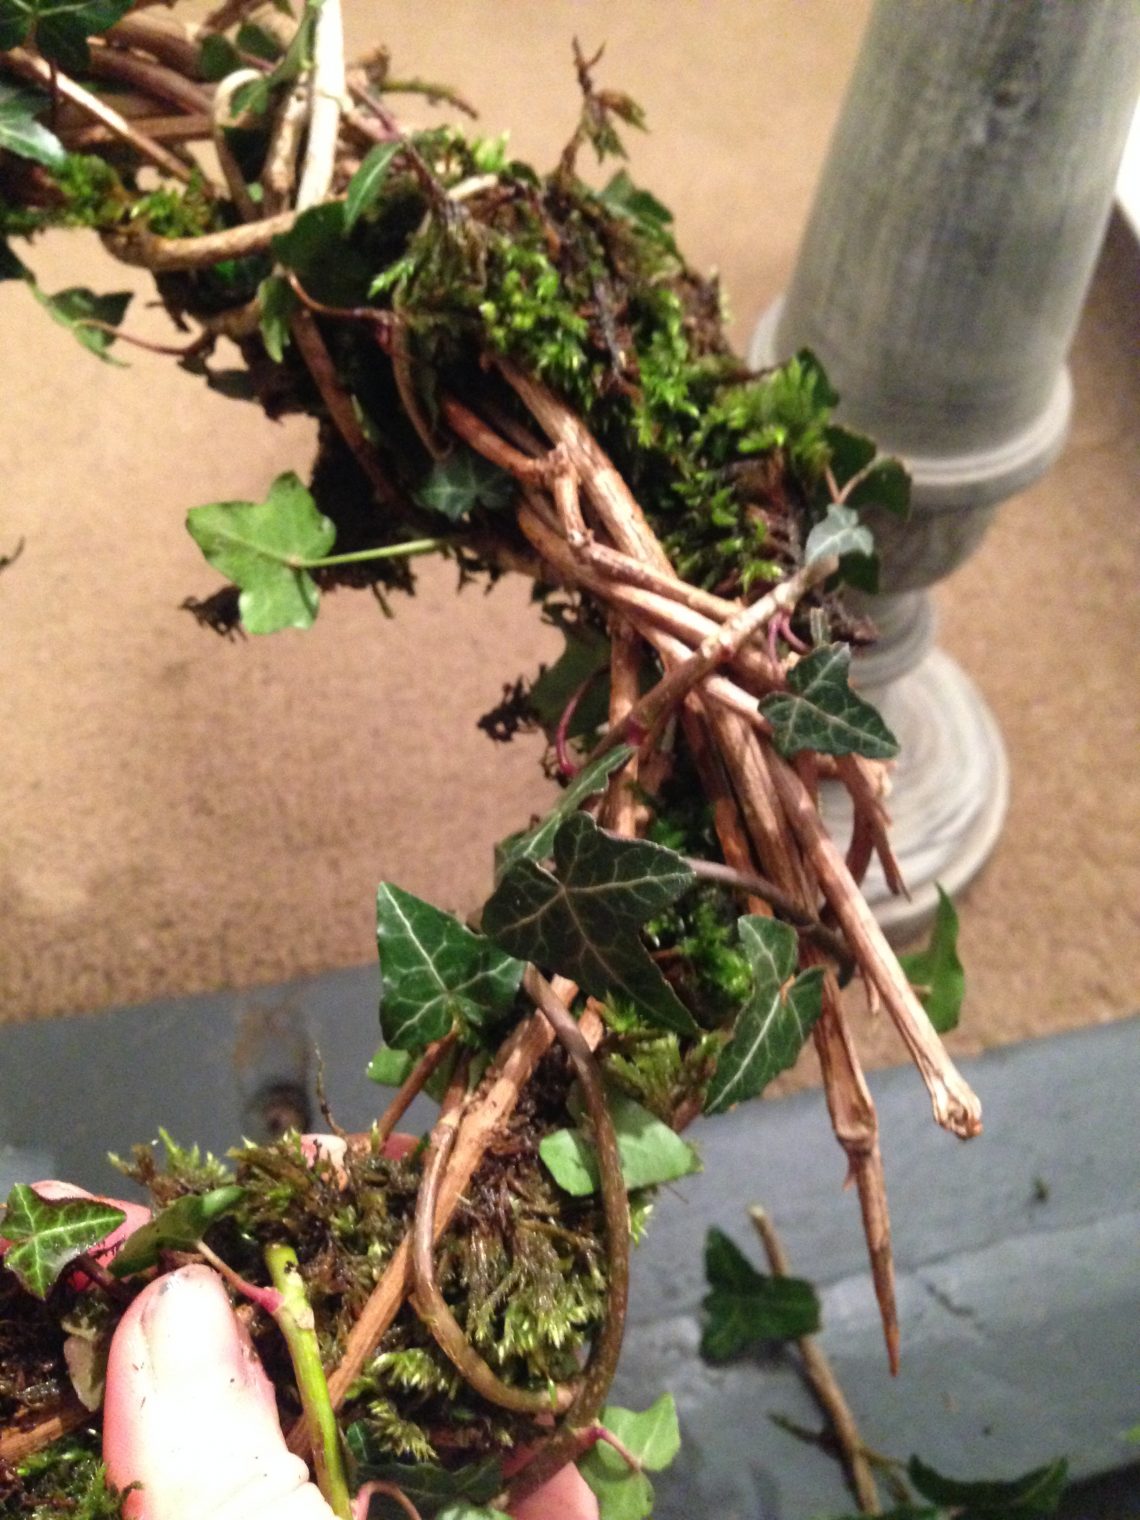
Pollendine’s wreaths are made as fits our ethos. Forget wireframe bases and florists wire – my wreaths are woven wooden bases, natural moss oases and foraged and dried foliage, berries and blooms – without a wire in sight.
How to make an all-natural, biodegradable Christmas wreath in five steps – with a base you can reuse next year!
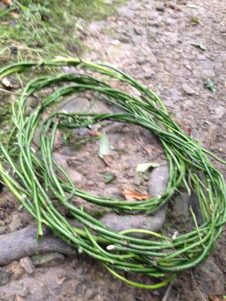
1. First entwine strips of a young, pliable wood (holly, willow and rosewood – with the thorns snapped off! – work best) until we have a long, almost-plait. Then bend this round on itself. The wood will naturally want to ping back – use this action to make it into a sturdy frame by intertwining each end into a round shape.
2. When your base is complete, collect some moss (preferably from lawn maintenance or somewhere similar – do not take moss from somewhere where you will destroy a habitat). Soak the moss in water, squeeze off the excess, and use it to bung holes in the wreath. The moss will not provide a hydrated base like oasis will – it is merely there to retain moisture, keeping your wreath hydrated and therefore perkier for longer. TIP: giving your wreath a spray, to get that moss wet again, can be a great way to keep life in your wreath for a little longer).
3. If you’re going to hang your wreath from a nail or door handle, not is the time to add a loop of thread or ribbon to your wreath. You can do this later, but you’re less likely to be able to access a subtle, strong loop in your wreath and will probably just have to loop the support round – this is fine too, so don’t despair if you didn’t do this step!
4. Now take foraged greenery (again, do not strip any one area, especially if you are picking berries – remember all of the wildlife that needs these berries for sustenance) and weave it through your wreath. Weave in and out of the gaps, finally tucking the end into a space in the wreath. This should make your wreath even more sturdy and your foliage well attached.
5. Choose whether your wreath needs additional decoration, such as dried oranges, dried flowers or foliage, and ribbons. Add where necessary.
And there you have it! Your own, completely natural wreath!
Wreath Workshop
People regularly ask how to make all-natural wreaths, so this year, I decided to run a workshop! These will run through the end of November and through December, with some mid-week and some weekend options. They will be all-day courses, 10.30-4pm, with lunch included. You will take away your own woven base, as well as a completed wreath you will learn to dress during our workshop, all for £69.
See my post on DIY wreath workshops for more information!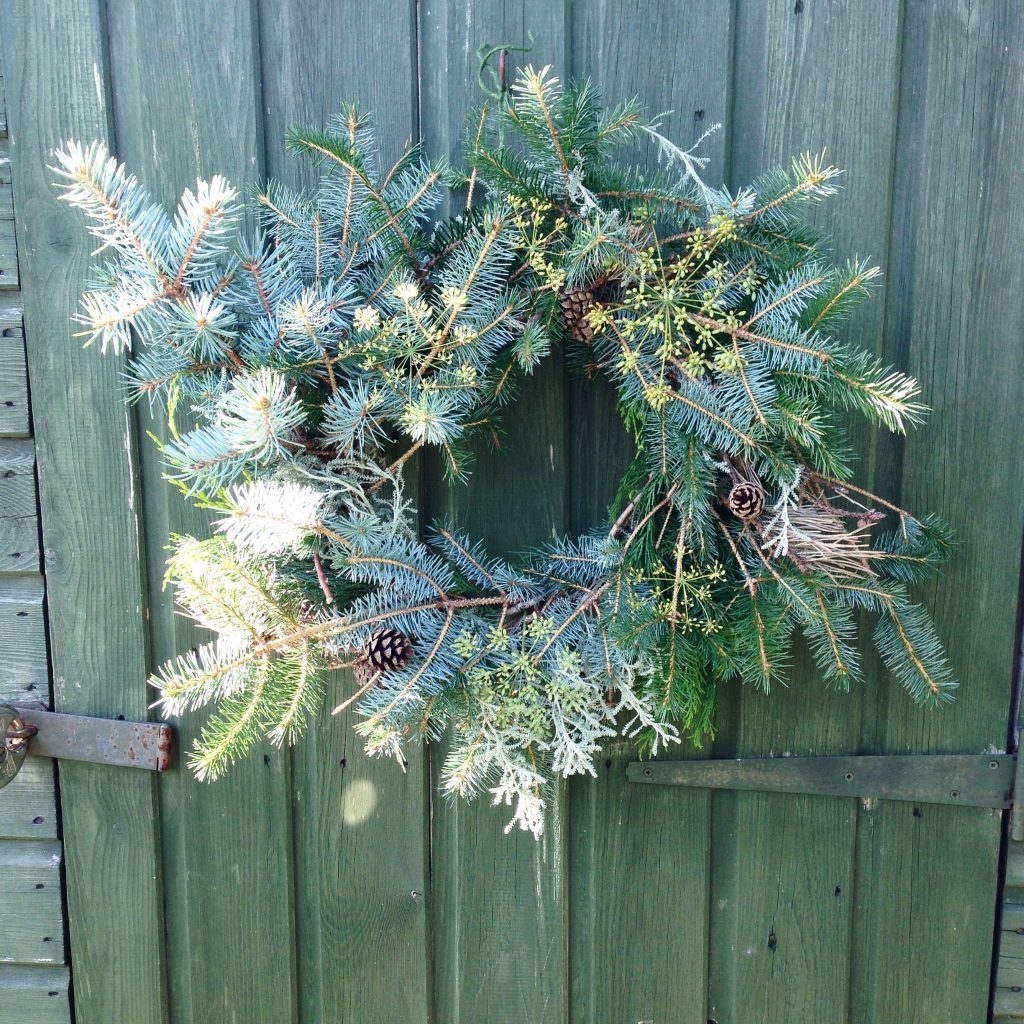
No Comments